
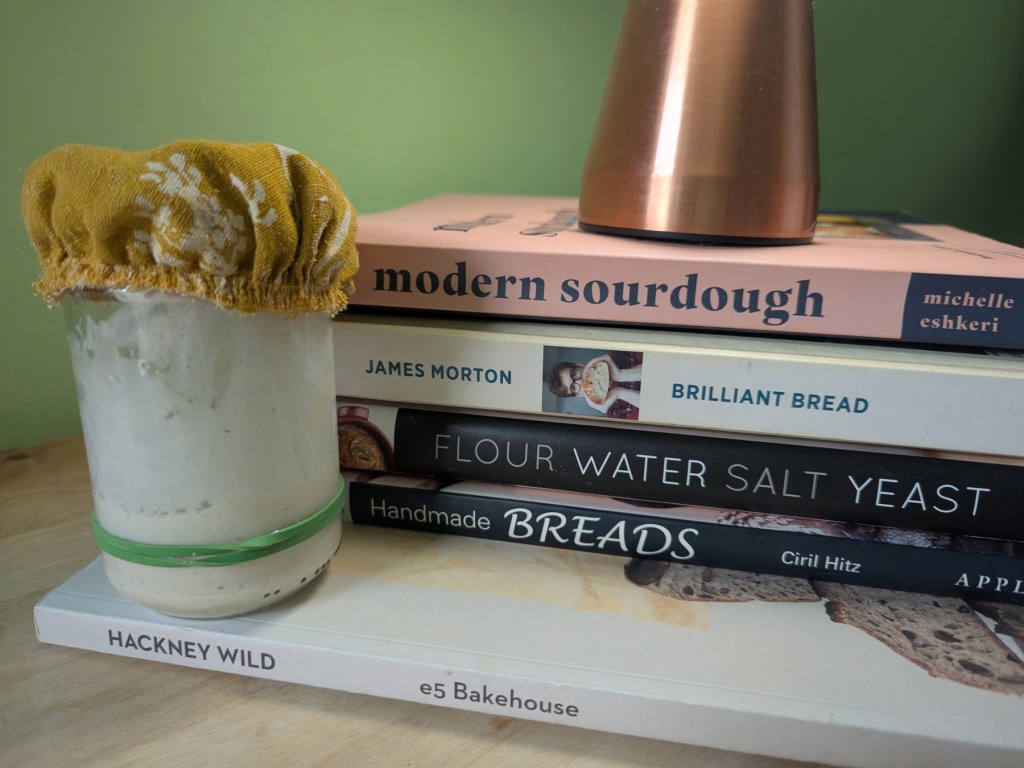
Step one: Mix flour and water.
Step two: Wait.
3,000 years ago the discovery that a mixture of ground cereal grains and water would eventually start to bubble and ferment led to the creation of bread and beer for the first time in human history. The desire to create a steady supply of these products is thought to have been among the chief reasons that led our previously nomadic ancestors to establish some of the first known permanent settlements; planting the seeds of the very concept of civilisation.
Flour.
Water.
You have those ingredients, right?
The craft of making sourdough bread – or, to describe the process more broadly, the craft of baking with a natural leaven – can initially appear forbiddingly complex. Many decide that it is a culinary art form best left to those magical few in possession of the esoteric secrets necessary to make it work. To which I say: ancient nomadic tribes were able to riff this process without so much as a search engine result to walk them through it: if you want to do it, you can do it.
The truth is that, at its most basic level, the process is actually exceptionally simple. And, like all simple things, there is a ‘but’ lurking in the wings, waiting to be addressed.
Don’t worry, we’ll get to that.
A sourdough starter is a mixture of flour and water brimming with a culture of yeast that is ready to get to work chowing through any dough mix that you might add it to.
So where do we get the yeast that develops in our sourdough starter? As our ancestors discovered, yeast is everywhere just waiting for the conditions in which it can thrive, and that includes lurking on the grains of your flour. When you add water to your flour and leave it at room temperature, the naturally occurring yeast on your flour will find itself in the ideal position to feed and reproduce. Given this opportunity, those microscopic fungi will consume the carbohydrates on offer in the flour (and any other sugary ingredients that you might happen to add to the mix) eventually creating the bubbles of carbon dioxide and alcohol that will respectively help to build the internal structure and enhance the flavour of your dough.
So, is it just a case of throwing some flour and water into an old jam jar, mixing it up and then baking a loaf? Not quite. Here’s where that simplicity-busting ‘but’ rears its ugly head: the secret third ingredient in creating your very own sourdough starter is time.
As your water and flour mixture (let’s say 20g of each) starts to ferment, it becomes a battleground of different microbes, including numerous different strains of yeast. Over the course of the first day, you will see very little activity (i.e. bubbles) from your would-be starter as an initial microscopic stalemate plays out in your jar.
When establishing a new starter you will need to refresh your mix three or four times at roughly twenty-four-hour intervals. Refreshing, or feeding, in this context is the process of scooping almost all of your mixture out of your jar, throwing it away, and topping your jar with equal amounts of flour and water, making sure to give it all a good stir.
While the fresh flour that you’re adding might have its own set of microbes, the growing strength of the cultures that are already duking it out in the remnants of your existing mixture will quickly overcome the newbies as the battle for yeasty supremacy continues. As you continue to refresh your starter mixture over several days, you should find that you see more and more activity from your burgeoning starter each time around.
You will know your starter is ready to begin using once the mixture doubles in size after a feeding. A great way to keep track of the rise of your starter mix (assuming that you are keeping it in a recycled jam jar or similarly transparent vessel) is to wrap an elastic band around the container to mark the starting level of your mixture after its feed, and watch as it bubbles up above the line.
Once your sourdough starter is consistently bubbling up to twice its original volume in the jar, you are ready to start your sourdough baking.
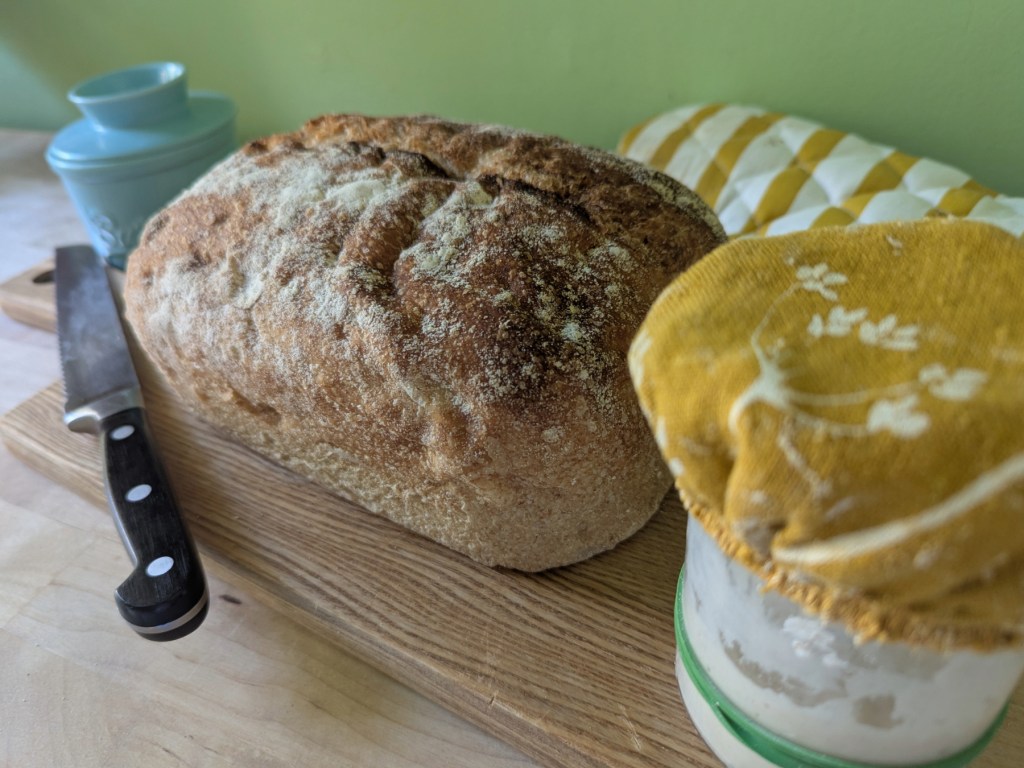
Maintaining a natural leaven is pretty simple work once you’ve overcome the initial hurdle of getting your starter up and running but I will leave you with a few final pointers to help you avoid some of my early sourdough slip ups.
The first and most important point is that you absolutely do not need to keep your starter in an airtight vessel.
When I was starting out, I used a rubber-sealed Kilner jar with a lever clasp to hold my starter mixture until, one summer afternoon, I heard a fateful bang from the kitchen. I ran to the scene only to discover that my sourdough starter had been shot. Or, at least, that’s what it looked like.
Despite the rugged build of the glass storage jar, my starter had gone into a feeding frenzy in the summer heat and the pressure of the carbon dioxide within the jar had eventually built to such an extent that it had punched a hole right through the side. Not only was it a huge mess and a shard-dodging nuisance to clear up, but I had to throw away all of my precious and long-serving starter as I couldn’t be 100% certain that any sample I took from it wouldn’t have some sliver of glass in it.
Today I use a recycled glass jam jar and I balance a lid loosely on top to keep nasties out. (I also use a darling little elasticated cloth cap to keep this lid in place but that’s really more of an aesthetic choice on my part).
Take recipe timings with a big ol’ pinch of salt. The process of baking with a natural leaven is hugely susceptible to the conditions of the location in which the baking occurs. Ambient temperature, humidity, the activity level of your particular strain of yeast, and even the water retention properties of the flour you are using (which can, according to Claudia Roden’s ‘The Book of Jewish Food’, vary from one corner of a wheat field to the other) can all impact the time it will take for any given stage of your starter care, or baking process, to be achieved.
Timings provided by any recipes you might be following will work for the writer in terms of where they are in the world and what time of year it was when they wrote it, but will likely need to be tweaked to fit your kitchen’s circumstances. Don’t worry, a little trial and error and you’ll get the hang of understanding what your sourdough bakes require.
When you are feeding your starter, you can by all means experiment with the ratio of water to flour that you are adding but, in my experience, you can’t go wrong with a simple 50/50 mix, also known as 50% hydration.
The amount of water and flour that you feed your starter should each be at least equal to the amount of starter left in your jar (e.g. if you have 10g of starter left in your jar, you should feed the mix with at least 10g of water, and 10g of flour). However, as keeping track of the exact amount of starter can be fiddly, I tend to be ruthless in disposing of my surplus and feed only the dregs. You only need a trace of your starter in the jar to keep that party going.
When deciding on how much to feed your starter overall, keep in mind how much starter you will need for what you’re planning to make. Generally, I only require around 50g of starter for my baking, so I tend to feed my starter about 25g of water and 25g of flour when I refresh it to avoid unnecessary wastage.
Finally, unless you are diving straight into the world of professional sourdough baking, odds are that you will make use of your starter at most once a week. To avoid having to refresh your starter several times between uses (it can get pretty boozy if left too long between feeds), you can simply keep your starter in the fridge. While the yeast in your starter thrives in room temperature environments, at fridge temperatures it will nonetheless continue to feed happily – just more slowly.
This slowed (or ‘retarded’) activity can actually be beneficial to the taste of your bakes, particularly when used during prooving of your dough, as it allows more time for the flavour to develop.
So what are you waiting for? Grab an old jam jar, add equal parts flour and water, and get ready to start your sourdough journey.
Good luck!

